


In today’s fast-paced world, homeowners and businesses are increasingly seeking smarter, more efficient ways to secure their properties. A WiFi-enabled deadbolt offers the perfect mix of convenience, security, and modern technology. Whether you want to grant remote access to a guest or simply never fumble with keys again, learning how to install a WiFi deadbolt is a valuable skill.
This article breaks down the process of installing the Eufy CS30 WiFi Deadbolt, as detailed in a practical, hands-on video tutorial. With clear instructions and expert tips, we’ll guide you through every stage of the installation process, ensuring a secure and reliable setup for your property.
Why Choose a WiFi Deadbolt?
WiFi deadbolts are an upgrade from traditional locks, blending robust security with smart technology. Here are some features that make them invaluable:
- Enhanced Security: Keypad access ensures no lost keys can compromise security.
- Convenience: Control your lock remotely via an app, even if you’re not home.
- Custom Access: Perfect for short-term rentals or visitors, as you can create, modify, and delete codes as needed.
- Durable Design: Many models, like the Eufy CS30, are built with anodized aluminum for a sturdy, weatherproof exterior.
Tools & Components You’ll Need
Before diving into installation, gather the necessary tools:
- Eufy CS30 Deadbolt Kit: Includes the exterior keypad, interior unit, mounting brackets, and screws.
- Screwdriver or Drill: A #2 Phillips head bit is ideal.
- Pre-drilled Door: Ensure your door has the standard two-hole configuration for deadbolts and latches.
- 4 AA Batteries: Power the interior unit.
Step-by-Step Installation Process
Follow these detailed steps to install your WiFi-enabled deadbolt with confidence.
1. Prepare the Door
Ensure the door is pre-drilled with two standard holes: one for the latch and one for the deadbolt. This setup is typical for most exterior doors.
- Identify the top of the deadbolt latch (marked with the word "TOP") to ensure proper orientation.
- Slide the latch into the door hole and secure it with screws. Ensure it sits flush to avoid sticking out.
2. Install the Exterior Keypad
The exterior keypad is the face of your deadbolt system.
- Align the Keypad: Feed the connecting wire through the top hole in the door.
- Position Securely: Match the profile of the keypad’s backplate to the door. Align the components carefully to ensure a flush fit.
3. Set Up the Interior Unit
The interior unit contains the battery compartment and motor that powers the deadbolt.
- Mount the Bracket: Use the included mounting bracket, ensuring the rubber gasket faces the door. This creates a seal to block dust and external air.
- Feed and Connect Wires: Slot the wire into the designated groove on the bracket. Attach it to the interior unit’s power connector.
- Secure the Unit: Use the provided long machine bolts to fasten the exterior keypad to the interior unit through the door. Tighten them enough to hold the components firmly but avoid over-tightening.
4. Install the Deadbolt Actuator
The actuator is the mechanism that physically turns the deadbolt.
- Align the actuator with the mounting bracket and ensure it sits flush.
- Use the included beveled screws to attach the actuator securely. Begin with the screw nearest to the power cord to reduce strain on the wiring.
5. Insert Batteries and Power On
Once the hardware is installed, add four AA batteries to the interior unit.
- Listen for a startup beep, indicating it is ready for programming.
Programming Your WiFi Deadbolt
The next step is connecting the lock to its app and programming access codes.
- Download the Eufy App: Scan the QR code provided with the lock to download the app.
- Sync the Lock: Press and hold the sync button on the interior unit until you hear a long beep. The app will walk you through connecting the lock to your WiFi network.
- Set Up Access Codes: Define a master code for yourself and create temporary or recurring codes for guests or family members.
Once programmed, you can remotely lock and unlock the deadbolt, monitor access logs, and manage codes – all from your smartphone.
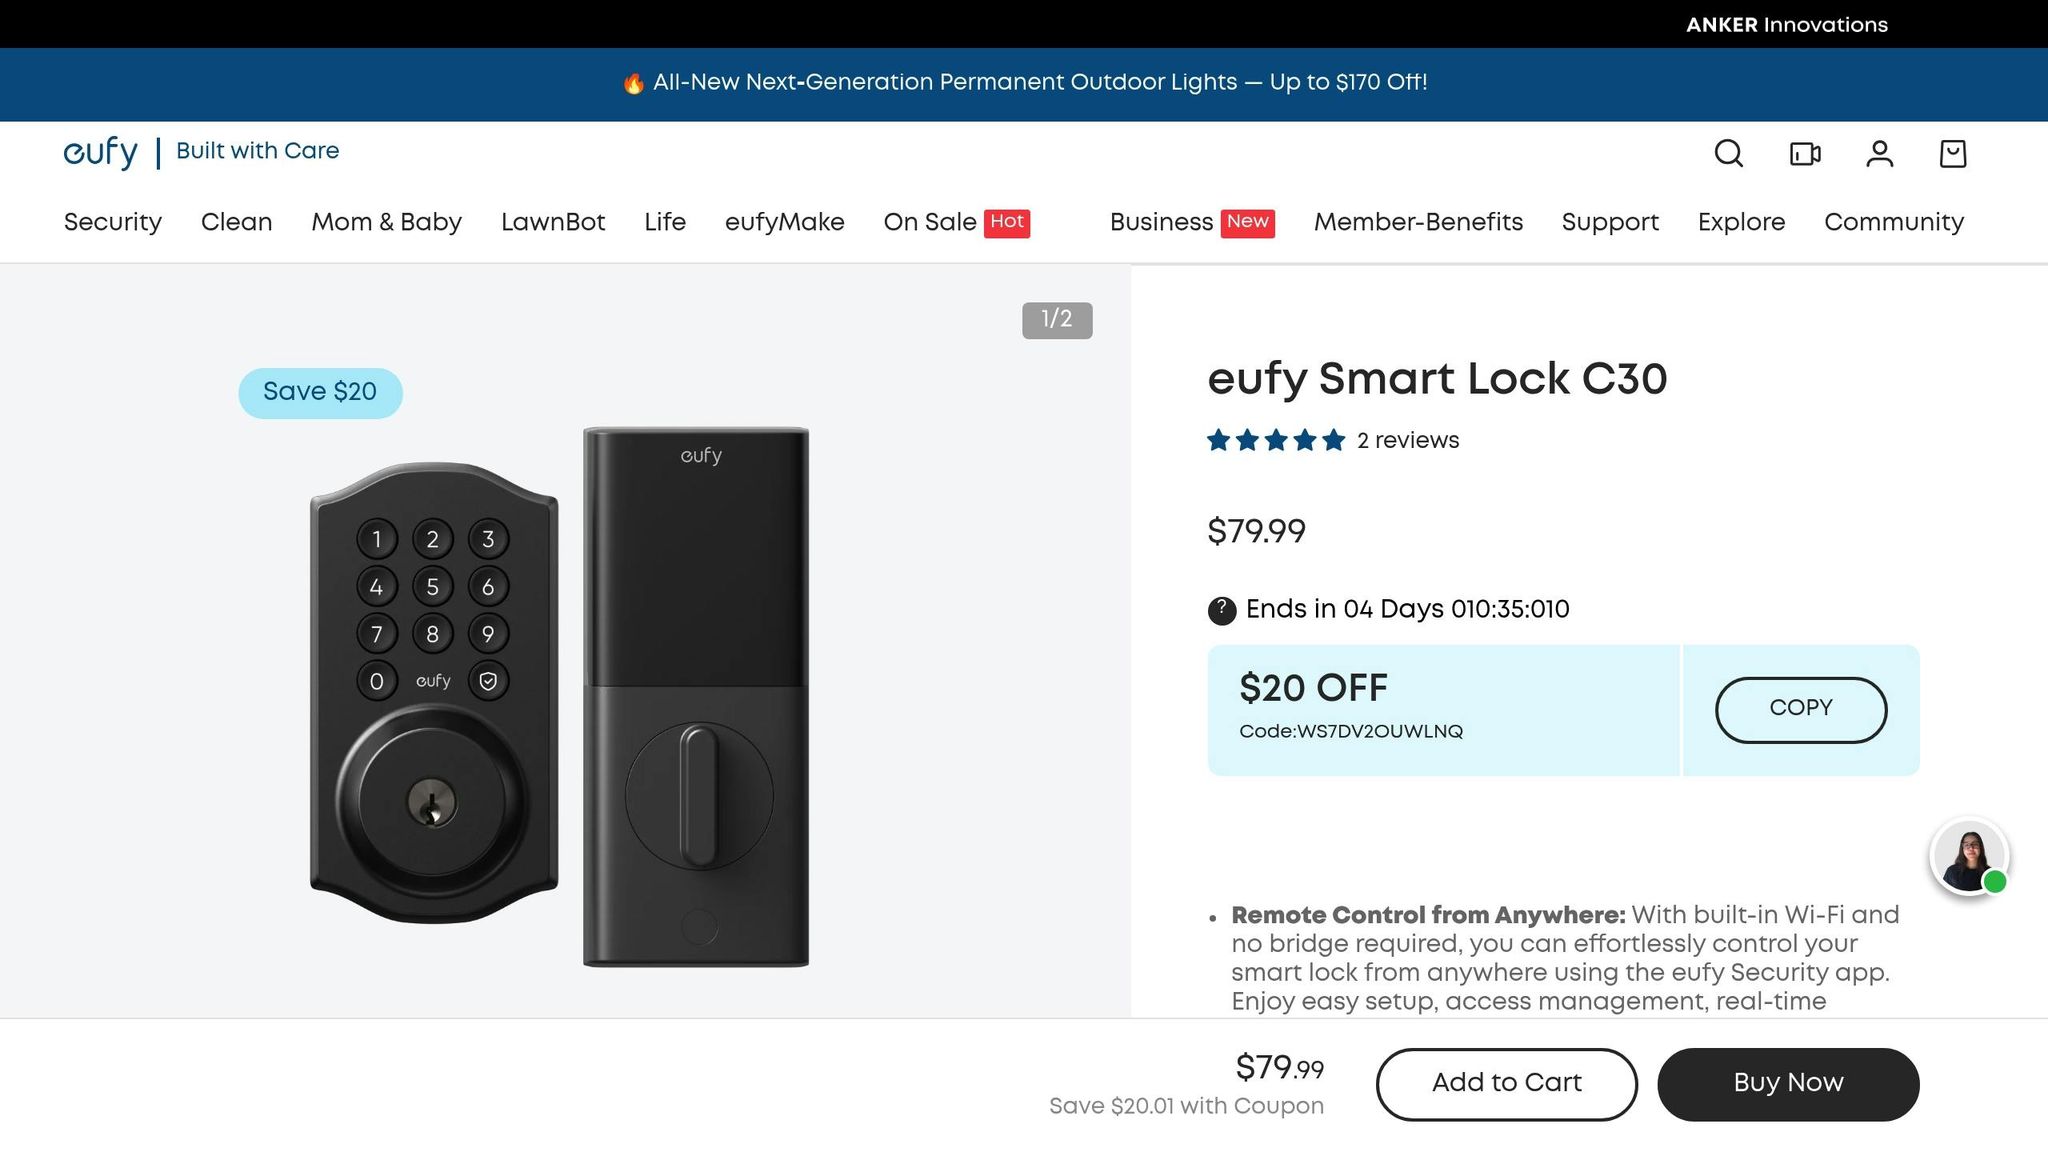
Key Features of the Eufy CS30 WiFi Deadbolt
This model offers a range of practical features:
- Dual Entry Options: Use either the keypad or a physical key for access.
- Multiple Code Management: Ideal for short-term rentals or frequent visitors.
- Remote Operation: Control the lock from anywhere via the app.
- Durable Construction: The anodized aluminum keypad is weather-resistant and sturdy.
- Battery-Powered: Operates on four AA batteries, with an easy replacement process.
Key Takeaways
- WiFi deadbolts like the Eufy CS30 offer a secure, flexible solution for modern access needs.
- Installation requires basic tools and can be completed in under an hour, even by beginners.
- Pre-drilled doors simplify the process significantly.
- Proper alignment of components, especially the wire connections, is crucial for smooth operation.
- The Eufy CS30 allows for remote access control, making it ideal for homeowners, renters, and businesses managing multiple users.
Conclusion
Installing a WiFi deadbolt, such as the Eufy CS30, is a straightforward and rewarding project that enhances the security and convenience of your home or business. With its easy installation process, robust design, and user-friendly app, this lock is a valuable addition for anyone seeking modern security solutions. By following the steps above, you’ll ensure a seamless installation and start enjoying the benefits of smarter access control immediately.
Make your property safer and more efficient with this innovative technology. It’s time to say goodbye to traditional keys and embrace the future of smart home security.
Source: "How to Install a WiFi Deadbolt in Minutes | Easy Smart Lock Upgrade" – Geoff’s Gadgets, Gear and Good Deals, YouTube, Sep 1, 2025 – https://www.youtube.com/watch?v=8vRhJrulNVM
Use: Embedded for reference. Brief quotes used for commentary/review.